Master Cylinder Brace Installation:
Installing a brake master cylinder brace on your RSX will stiffen up the firewall, creating a more responsive and predictable brake pedal feel. To learn more about the purpose of brake master cylinder braces, check out our article in our design resources. For now, we will just be covering the installation of our brake master cylinder brace for the 2002-2004 RSX.
Details:
Installation time: 15 minutes
Difficulty: Beginner
Tools Needed: 12mm Wrench, 4mm Allen Wrench
Additional Materials: 8mm Washer (optional)

Step 1:
Begin the installation by removing any parts directly blocking the installation of the master cylinder brace. For example, the clutch master cylinder reservoir of a manual RSX will make the installation process more difficult. Unbolt it and push it aside for now. It will be reinstalled following the master cylinder brace installation.
Step 2:
This step only applies for RSX’s that were not equipped with strut bar mounting studs from the factory (2002-2004 Base Model). For these cars, the provided 8 x 1.25mm studs must be installed to compete the installation.
Start by removing adhesive hole coverings. Next, insert press-fit studs from below the strut tower and install the optional 8mm washer and one of the provided 8 x 1.25mm flange nut. The optional washer helps protect the engine bay paint from scratches during the stud installation process. Tighten the flange nut to pull the stud into the material until it is fully seated.

Repeat this process for the second stud before continuing with the installation of your brake master cylinder brace.
Step 3:
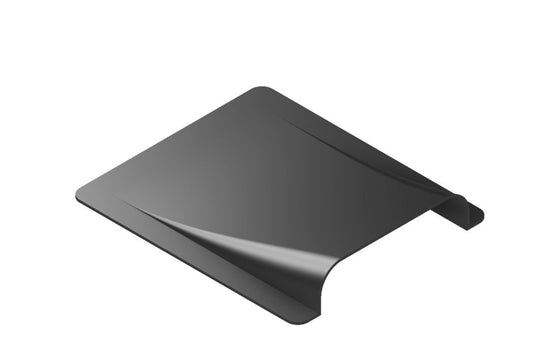
To create extra clearance to aid in the installation of your master cylinder brace, fully retract the adjustable screw the aluminum contact is seated against the locking nut. Install the master cylinder brace on the factory strut bar mounting studs and lightly tighten down the flange nuts. The brace should be able to move slightly. Begin extending the clamping screw until the contact face lays perfectly flat against surface of the brake master cylinder as seen in the picture below.

Hold the master cylinder brace in place and tighten it down using the two M8 flange nuts. Using a 4mm Allen wrench, extend the clamping screw until the brace makes light contact with the brake master cylinder. Preload the brace by turning the clamping screw another ¼ turn. Finally, tighten the lock nut using a 12mm wrench.
To finish, reinstall any parts that were removed in step 1 such as the clutch fluid reservoir.

That's all there is to it. Don't forget to share pictures of your new master cylinder brace and tag us @thesimplespeed on Instagram so we can check it out!